
mini sewing machine manual pdf
Welcome! This manual guides you through operating your Mini Sewing Machine, offering a free download as a PDF file for convenient access.
It’s your roadmap to success, ensuring effective and efficient use, alongside crucial setup, operation, and maintenance details.
Unboxing and Initial Inspection
Carefully unpack your Mini Sewing Machine Manual from its packaging. Verify all components are present, referencing the included parts list – often detailed within the PDF manual available for free download. Inspect the machine for any visible damage incurred during shipping.
Thoroughly examine the body, power cord (if applicable), foot pedal, and included accessories like bobbins, needles, and thread guides. Ensure the bobbin winder and tension dials move freely. A scan of the instruction manual, like the KPSM-201 by KPCB Tech, highlights the importance of initial inspection.
Retain the original packaging for potential future transport or warranty claims. Familiarize yourself with the machine’s overall layout before proceeding, consulting the manual’s diagrams for clarity.
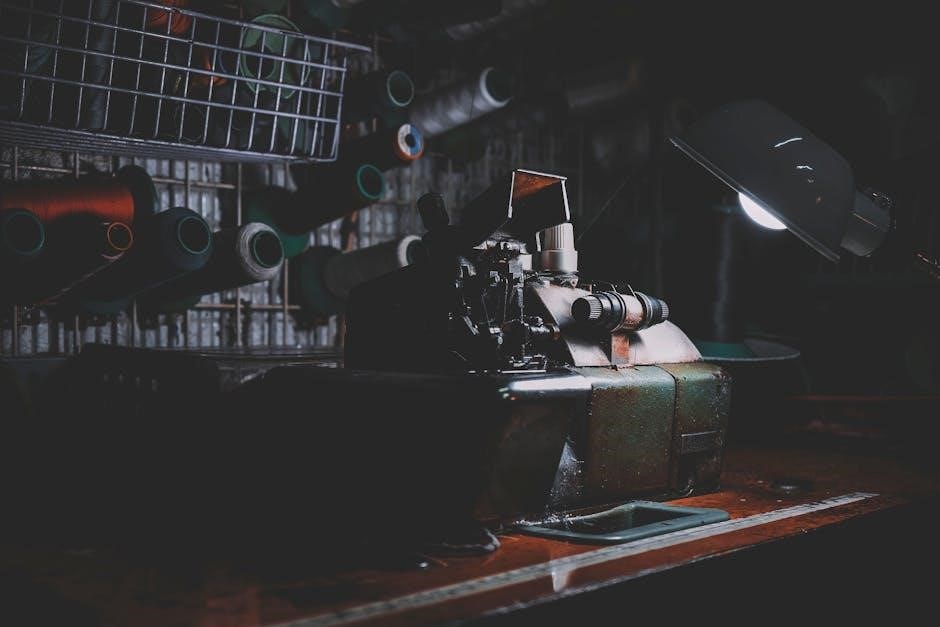
Understanding the Machine’s Components
Your Mini Sewing Machine Manual, readily available as a free PDF, details each component’s function. Key parts include the power switch, handwheel, needle clamp, presser foot, and feed dogs. The bobbin winder, tension discs, and thread take-up lever are crucial for proper stitching.
Refer to the manual’s diagrams to identify the bobbin case, stitch length dial, and stitch width control. Understanding these elements, as outlined in documents like the Janome Sew Mini instruction manual, is vital.
The foot pedal controls sewing speed, while the reverse lever allows for backstitching. Familiarize yourself with each part’s location and purpose before operation, ensuring a smooth sewing experience.
Setting Up Your Mini Sewing Machine
Prepare for success! Consult your Mini Sewing Machine Manual PDF for detailed instructions on initial setup, ensuring optimal performance and longevity.
Power Source and Battery Information
Understanding Power Options: Your Mini Sewing Machine Manual PDF details the specific power requirements for your model. Crucially, the provided information emphasizes a vital point: the SewMighty model operates without batteries.
This machine is designed for direct power connection, eliminating the need for battery installation or replacement. Always verify the voltage compatibility before plugging in the power adapter.
Refer to the manual’s diagrams for correct power cord placement and safety precautions. Incorrect voltage or improper connection can damage the machine. The manual also clarifies that this design choice contributes to the machine’s streamlined functionality and consistent performance, avoiding potential power fluctuations associated with battery operation.
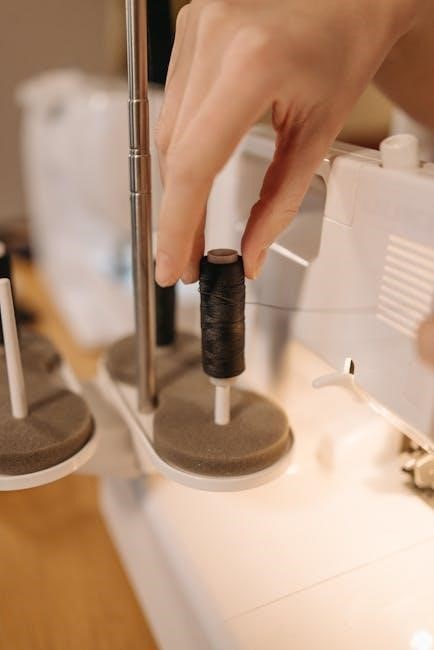
Installing the Bobbin
Bobbin Installation Guide: The Mini Sewing Machine Manual PDF provides a step-by-step visual guide to correctly installing the bobbin. Begin by locating the bobbin case, typically found beneath the needle plate.
Ensure the machine is powered off during this process. The manual details the correct bobbin winding direction and insertion method. Gently place the bobbin into the case, guiding the thread through the tension slot as illustrated.
Proper tension is crucial for stitch quality; the manual emphasizes this point. Incorrect bobbin installation can lead to tangled threads or skipped stitches. Always refer to the diagrams within the PDF for precise placement and thread path guidance, ensuring smooth and reliable operation.
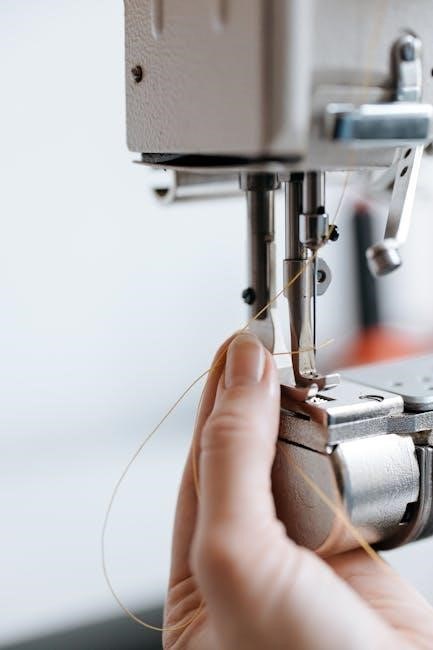
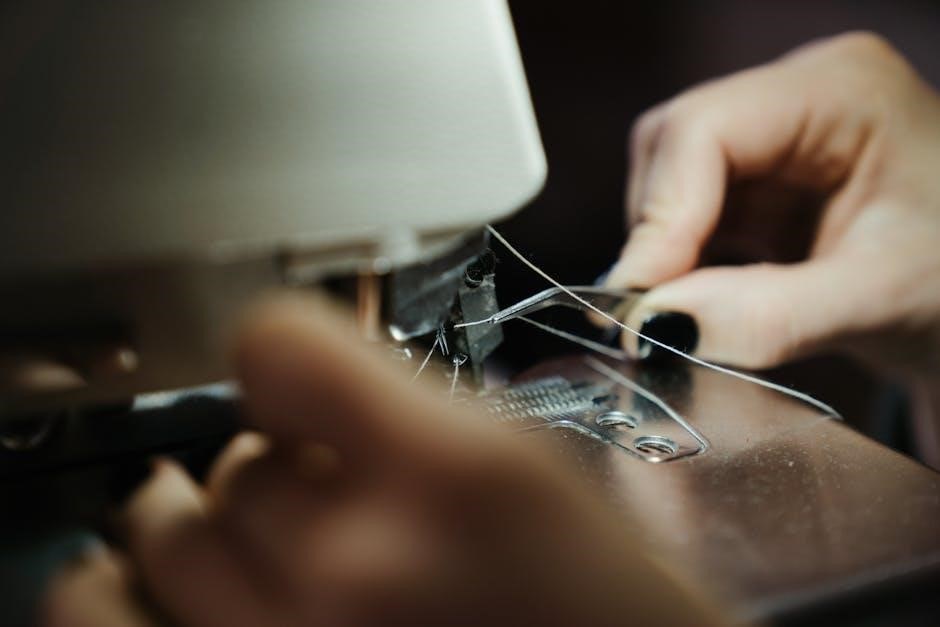
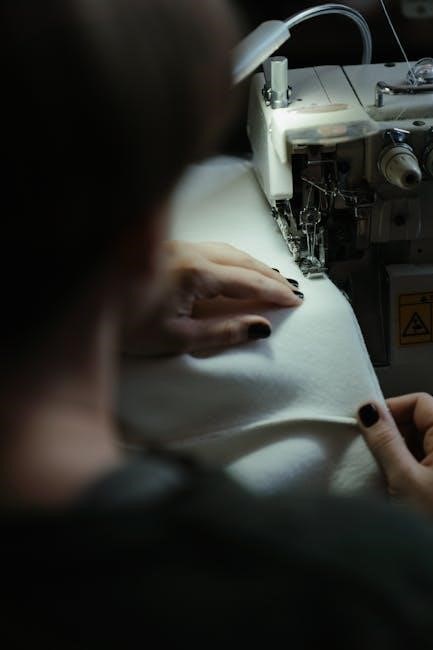
Threading the Machine
Mastering the Threading Process: The Mini Sewing Machine Manual PDF offers detailed diagrams illustrating the correct threading path. Begin by raising the presser foot, as this opens the tension discs.
Follow the numbered guide within the manual, carefully leading the thread through each designated point – from the spool pin, around the tension discs, through the take-up lever, and finally, to the needle.
The PDF highlights the importance of proper tension and ensuring the thread is securely seated in each guide. Incorrect threading is a common cause of sewing issues; therefore, meticulous attention to the manual’s instructions is vital for optimal performance and preventing frustrating tangles.
Threading the Machine (Continued)
Needle Threading & Final Steps: The Mini Sewing Machine Manual PDF provides clear visuals for threading the needle itself. Utilize a needle threader if needed, ensuring the thread passes through the eye of the needle from front to back.
After needle threading, gently pull several inches of thread through, and verify that both the top and bobbin threads are correctly positioned under the presser foot.
The manual emphasizes the significance of proper thread tension for achieving balanced stitches. Refer to the tension adjustment section of the PDF if encountering looping or puckering. Consistent practice, guided by the manual, will quickly build confidence and proficiency in this essential sewing skill.
Basic Operation
Get Started! The Mini Sewing Machine Manual PDF details stitch selection, length/width adjustments, and starting/stopping procedures for seamless project creation.
Selecting Stitch Types
Understanding Stitch Variety: Your Mini Sewing Machine Manual PDF will illustrate the diverse stitch options available on your model. These typically include a straight stitch, ideal for seams and general construction, and a zigzag stitch, perfect for finishing raw edges and creating decorative elements.
The manual will clearly demonstrate how to select each stitch using the machine’s dial or buttons. Some models may offer additional stitch patterns, such as buttonhole stitches or decorative designs. Refer to the diagrams within the PDF to accurately identify and choose the desired stitch for your specific project.
Proper stitch selection is crucial for achieving professional-looking results and ensuring the durability of your creations. Always test the chosen stitch on a scrap fabric before beginning your final project.
Adjusting Stitch Length and Width
Fine-Tuning Your Stitches: The Mini Sewing Machine Manual PDF details how to adjust both stitch length and width, crucial for customizing your sewing. Stitch length controls the distance between individual stitches; shorter lengths are ideal for delicate fabrics, while longer lengths suit heavier materials.
Width adjustment applies primarily to zigzag stitches, determining how wide the stitch oscillates. The manual will showcase the adjustment dials or buttons, often marked with numerical values or visual indicators. Experimenting with these settings on scrap fabric is vital.
Always consult the PDF for recommended settings based on fabric type and desired effect, ensuring optimal stitch formation and preventing fabric puckering or breakage.
Starting and Stopping the Machine
Initiating and Ceasing Operation: Your Mini Sewing Machine Manual PDF provides clear instructions on safely starting and stopping the machine. Typically, operation begins with gently pressing the foot pedal, controlling the sewing speed. The manual emphasizes a slow, controlled start to prevent fabric bunching or needle breakage.
Stopping is usually achieved by lifting the foot from the pedal, immediately halting the needle. Some models feature a dedicated stop/start button for enhanced control.
The PDF will detail any specific safety precautions, such as ensuring the handwheel is stationary before threading or changing the needle. Always refer to the manual for your model’s precise procedures.
Maintenance and Troubleshooting
Essential Care: The Mini Sewing Machine Manual PDF details vital maintenance, like tension adjustment, needle replacement, and bobbin winding, alongside common issue solutions.
Tension Adjustment
Understanding Tension is Key: Proper thread tension is crucial for achieving quality stitches with your Mini Sewing Machine. The Mini Sewing Machine Manual PDF provides detailed guidance on recognizing and resolving tension problems. Incorrect tension can lead to looping, puckering, or thread breakage.
Typically, adjustments involve a tension dial or screw. Experiment with small increments, testing each adjustment on a scrap fabric. If the top thread is too loose, tighten the top tension; if it’s too tight, loosen it. Conversely, if the bobbin thread pulls excessively, adjust the bobbin tension accordingly.
Refer to the manual’s diagrams for precise locations of tension controls and recommended settings for different fabric types. Consistent practice and careful observation will help you master tension adjustment for optimal sewing results.
Needle Replacement & Winding the Bobbin

Maintaining Your Machine: The Mini Sewing Machine Manual PDF details essential maintenance tasks, including needle replacement and bobbin winding. Regularly changing the needle ensures clean stitches and prevents fabric damage. Always use the correct needle type and size for your fabric;
Bobbin winding is equally important. The manual illustrates the correct procedure for winding the bobbin evenly, preventing uneven stitching. Ensure the bobbin is wound firmly but not too tightly. Incorrect winding can cause tension issues.
Follow the step-by-step instructions in the manual carefully, paying attention to safety precautions. Proper needle installation and bobbin winding contribute significantly to the longevity and performance of your Mini Sewing Machine.

Troubleshooting Common Issues
Addressing Problems: The Mini Sewing Machine Manual PDF provides a dedicated troubleshooting section to help resolve common issues. This section covers problems like thread breakage, skipped stitches, and uneven tension. It offers clear, concise solutions for each issue, guiding you through diagnostic steps.
Before seeking professional repair, consult the manual’s troubleshooting guide. Often, simple adjustments can fix the problem. The manual also highlights potential causes for each issue, helping you prevent recurrence.
Remember to always power off the machine before attempting any repairs. Following the manual’s advice ensures safe and effective troubleshooting, maximizing your machine’s lifespan and minimizing downtime.
Advanced Techniques & Safety
Explore creativity! The Mini Sewing Machine Manual PDF details advanced techniques and crucial safety precautions for optimal performance and user well-being.
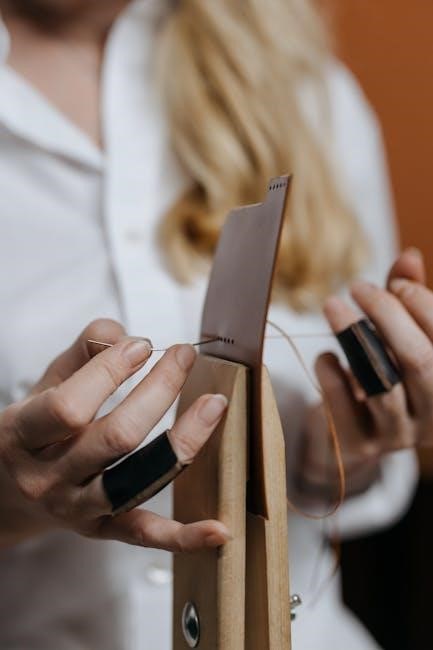
Creative Tips & Ideas
Unleash your imagination! Your Mini Sewing Machine Manual PDF is more than just instructions; it’s a gateway to countless creative projects. Begin with simple alterations – mend clothing, personalize gifts, or create unique patches. Explore quilting small projects, crafting adorable stuffed animals, or designing custom accessories like scrunchies and headbands.
Don’t limit yourself! The manual’s guidance empowers you to tackle home décor items like pillow covers and table runners. Utilize various fabrics and embellishments to express your personal style. Remember to consult the manual for stitch selection advice tailored to different materials.
Experiment with layering fabrics, adding ribbons, or incorporating beads for textured effects. The possibilities are truly endless, limited only by your creativity!
Creative Tips & Ideas (Continued)
Delve deeper into crafting with your Mini Sewing Machine Manual PDF! Consider creating personalized keychains, festive ornaments, or charming bookmarks. Explore the world of fabric painting and appliqué, adding unique designs to your projects. Utilize scrap fabrics to minimize waste and create eco-friendly crafts.
For those seeking a challenge, try miniature quilting or constructing small pouches and bags. The manual’s troubleshooting section can assist with any unexpected hurdles. Remember to practice different stitch techniques to expand your skillset.
Share your creations with friends and family, or even consider selling them online! Your mini sewing machine, guided by the manual, unlocks a world of handmade possibilities.
Important Information
Review warranty details and disposal instructions found within the Mini Sewing Machine Manual PDF; store it for future reference and repairs.

Warranty Details
Your Mini Sewing Machine Manual PDF contains comprehensive warranty information regarding defects in materials and workmanship. This warranty typically covers a specified period from the original purchase date, offering repair or replacement options at the manufacturer’s discretion.
Please retain your proof of purchase, as it’s essential for any warranty claim. The warranty does not cover damage resulting from misuse, accidents, alterations, or normal wear and tear.
Furthermore, it generally doesn’t extend to refurbished goods or parts. Refer to the detailed terms and conditions within the manual PDF for complete coverage specifics, limitations, and the process for initiating a warranty request. Understanding these details ensures you’re fully protected.
Disposing of the Sewing Machine
Responsible disposal of your Mini Sewing Machine is crucial for environmental protection. Do not simply discard it with household waste. The Mini Sewing Machine Manual PDF emphasizes adherence to local regulations regarding electronic waste (e-waste) recycling.
Many communities offer designated e-waste collection centers or events. These facilities ensure proper dismantling and material recovery, minimizing environmental impact. Check with your local authorities for specific disposal guidelines.
Improper disposal can lead to hazardous materials leaching into the environment. By following responsible disposal practices, as outlined in the manual PDF, you contribute to a sustainable future and comply with environmental standards.